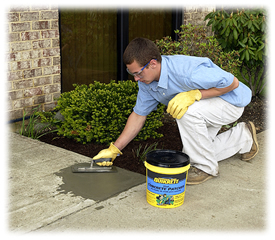
Extreme temperatures and age can cause concrete to crack and flake. With a little know-how and the right tools, do-it-yourselfers can repair damaged areas easily. To get started, you will need the following tools: hammer, trowel, cold chisel, broom or brush, goggles and gloves, QUIKRETE® Sand Mix, and Concrete Bonding Adhesive or Vinyl Concrete Patcher. Follow these easy steps for some of the most common concrete repair projects.
Resurfacing thin, cracked or flaked concrete
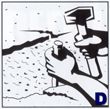
Chip away all cracked and crumbled areas to a solid base. Apply a thin layer of QUIKRETE® Vinyl Concrete Patcher. Finish or smooth with a trowel.

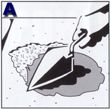
Resurfacing depths 1-1/2″ to 2″
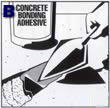
Clean damaged area and apply QUIKRETE® Concrete Bonding Adhesives to old concrete. When adhesive feels tacky, pour QUIKRETE® Sand Mix, level and smooth with a trowel.(Please note that Bonding Adhesive can not be used with Vinyl Patcher and should only be used at depths of 1-1/2″ – 2″).


Repairing broken steps.
Clean and remove all dirt and loose concrete. Build up surface with Vinyl Concrete Patcher. With trowel, finish and smooth the corners flush with the adjoining surfaces.

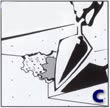
Repairing cracks up to 1″ wide
Chip away all cracked concrete to a depth of at least one inch below the surface. Square all edges. For cracks up to 1/4″ deep, use Vinyl Concrete Patcher. For deeper cracks use QUIKRETE® Sand Mix with Concrete Acrylic Fortifier used according to directions on the bottle. Use Sand Mix with Acrylic for patches bigger than 1sq. ft. and up to 1 1/2″ thick.


